Optics Trade 3D Configurator

Menu

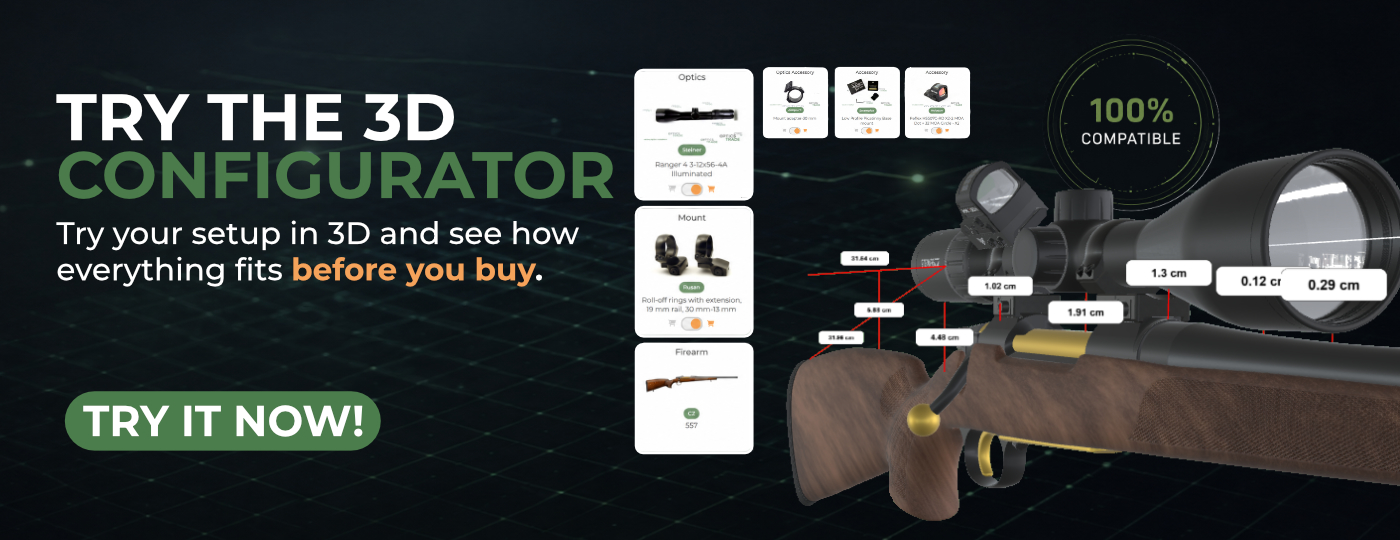
OPTICS TRADE 3D CONFIGURATOR: Don’t guess. Build it in 3D.

See how your rifle, scope, mount and accessories fit together before you buy. 

Buying a rifle scope, mount and accessories can leave you guessing whether everything will actually fit together.

With the Optics Trade 3D Configurator, you can build the entire setup before you buy. Choose your rifle, add the scope, mount and accessories, and see exactly how everything comes together in 3D.

You can check clearances, potential collisions, mounting options, all the measurements, co-witness, and more before placing your order. Try different combinations, move things around and find the setup that actually works for you.

 TRY THE CONFIGURATOR NOW →

Start building your setup now


The 3D Configurator is still in beta

The Optics Trade 3D Configurator is still in beta, so some products are still missing and we’re constantly adding new models and improving the ones already there.

If something is missing or doesn’t look right, let us know.

CONTACT US →

What can you do with the 3D Configurator?

  • Build your complete setup in 3D
    Combine your rifle, scope, mount and accessories in one place.

  • Spot potential collisions before you buy
    See when parts interfere with each other and adjust the setup.

  • Compare mounts and ring heights
    Try different options and see what works best for your rifle and scope.

  • Check clearances and measurements
    Measure distances directly on the setup and see how much room you actually have.

  • Move and adjust components
    Fine-tune the position of selected parts and test different setups.

  • Share your setup
    Send the configuration to a friend or directly to our support team.

  • Add products straight to your cart
    Once you’re happy with the setup, choose what you want to buy and continue to checkout.

TRY THE CONFIGURATOR NOW →

How to Use the Optics Trade 3D Configurator?

Step 1: Log in or create an Optics Trade account

To use the Optics Trade 3D configurator, you need to be logged in to your Optics Trade account.

If you already have an account, simply log in and open the configurator.

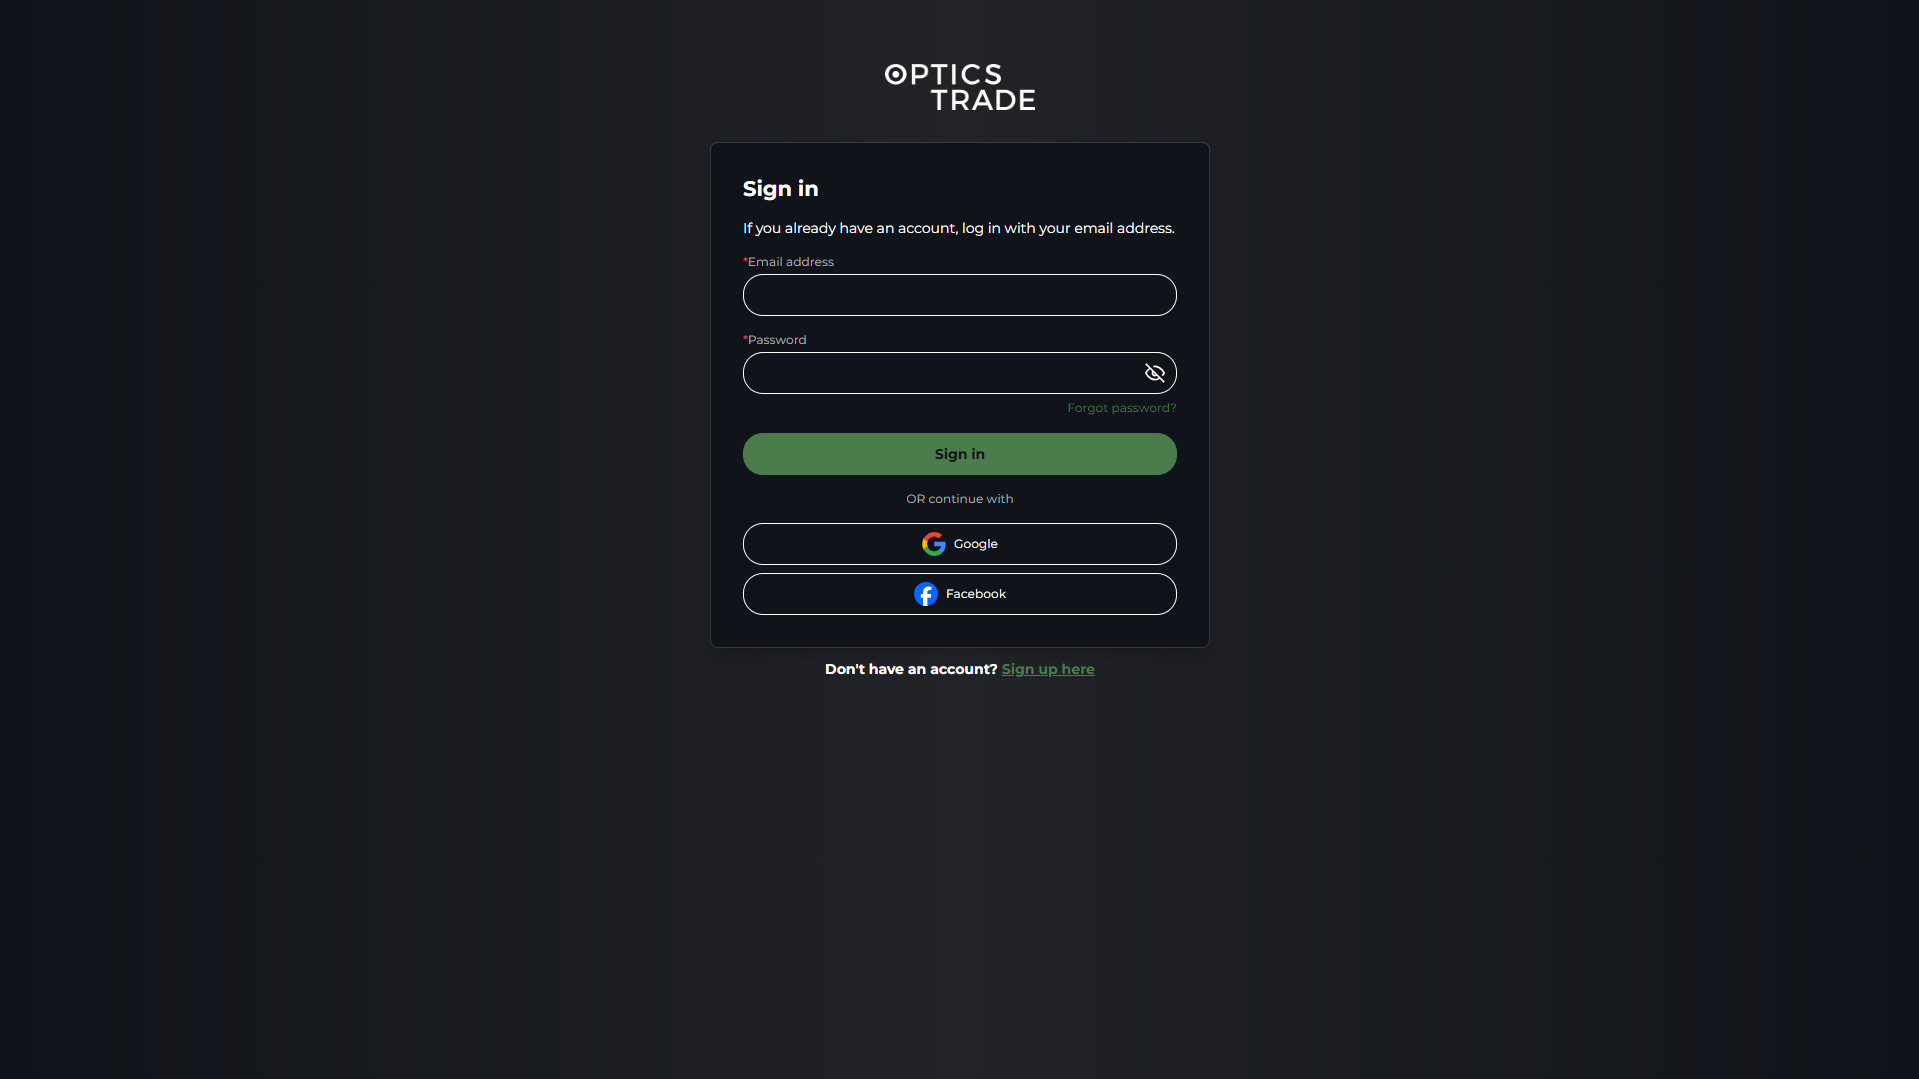
If you don’t have an account yet, you can create one on the login page. You can also sign in with your Google or Facebook account. In that case, your Optics Trade account will be created automatically, and you can start using the configurator right away.

Log in or create an Optics Trade account

Step 2: Complete the first-time setup

If this is your first time logging in, you may need to complete a few quick steps before using the configurator.

You will be asked to accept our terms and conditions, cookie settings, and review the age policy. You will also need to set your preferred country and currency, so the webshop can show the correct availability, prices, and buying options.

Once this is done, you can start building your setup by clicking “Start building assembly”.

Step 3: Choose the firearm you want to configure

Next, choose the type of firearm you want to build your setup around.

When you select a firearm, you may see two options: Configure and Load default.

We recommend choosing Configure, especially if you want the setup to match your own firearm as closely as possible. The Load default option can be useful for a quick preview, but it may not reflect the exact version, configuration, or accessories you actually have.

After choosing Configure, you can adjust the firearm step by step so it closely resembles your own. This gives the configurator a better starting point and helps make the final setup more accurate.

When you are done, click “Add firearm to assembly” to place the firearm into your setup.

Step 4: Start adding components

Once your firearm is added to the assembly, you can start building the rest of your setup.

Click “Next” to open the panel with the available attachments and components you can add to your configuration.

From here, the process is simple. Choose the component you want to add, follow the available options, and click “Next” whenever you want to move forward.

The configurator will guide you through the setup step by step, so you don’t have to figure out the order yourself.

Step 5: Use the Product Tree to adjust your setup

After the initial setup phase, the “Next” button is replaced by the “Open Product Tree” button.

This gives you more control over the assembly.

By opening the Product Tree, you can see the components you already selected and continue building from there. You can add additional components, change parts, or swap selected products if you want to test a different setup.

Click “Confirm” when you are done.

Step 6: Check for collisions

If the configurator detects a collision between components, the problematic parts are marked in red.

This means that something in the setup does not work properly in its current form. For example, the scope may sit too low, the bolt may hit the scope, or one accessory may interfere with another.

When this happens, you can adjust the setup until the problem is solved.

Sometimes the solution is simple, like choosing a different ring height. Other times, you may need to swap the problematic product for another one, or remove it from the setup completely.

The goal is to find a combination that works before you place an order.

Step 7: Move components manually

In some cases, you may want to adjust the position of a component manually.

To do this, double-click on the product you want to move. Then use the right mouse button to drag it into a different position.

This is useful if you want to move components to better suit your needs, test a different position, or see if a small adjustment solves a collision or spacing issue.

For example, you may want to move an accessory forward or backward, adjust its position on a rail, or place it where it feels more practical for your setup.

Step 8: Use the extra options

In the top right corner of the configurator, you will find several useful options for your setup.

You can generate a PDF with all selected products and a complete visual of your configuration. This is useful if you want to save the setup, compare it later, or send it to someone else.

You can also change the color theme of the configurator and use the measurements option to check distances directly on the setup.

Use the measurements menu to see all the measurements on your configuration. The measurements are based on real mechanical matching, so the distances shown in the configurator are accurate to the actual configuration.

You also have the Share option. This allows you to easily share your configuration with friends or with our customer support. When you send the link, the other person can open your setup and view it in 3D.

This is especially useful if you need help, because our team can see the exact configuration you are working on instead of guessing from screenshots or product names.

Step 9: Report bugs if something doesn’t work

In the bottom corner of the configurator, you will find the Bug Report button.

If you notice something that does not work as expected, you can use this button to report it to us.

The bug report tool also allows you to easily include a screenshot, so our team can see exactly what happened and fix the issue faster.

This helps us improve the configurator and make it better for everyone.

Step 10: Review your cart and checkout

As you build your configuration, the products you select are added to your cart.

You can find the cart icon in the top right corner of the configurator. Click it to view the products that were added during your configuration.

From there, you can easily choose which products you want to purchase and which ones you want to remove. This gives you full control before placing the order.

When you are ready to buy, simply click “Checkout”. This will take you to the Optics Trade checkout page, where you can complete your purchase.


TRY THE CONFIGURATOR NOW →